Installation
ATM runs entirely inside Home Assistant. There is no extra process and no cloud dependency, so installation is the same as any other custom integration: add the files, restart, add the integration.
Requirements
- Home Assistant
- 2024.5.0 or later. This is the version ATM is built and tested against; it is not enforced at runtime or locked in the manifest, so an older Home Assistant may work but is unsupported and untested.
- Instances
- One ATM instance per Home Assistant. The config flow will not let you add a second.
- Dependencies
- None beyond what Home Assistant already ships. No Python packages to install.
Install through HACS
HACS is the recommended path because it handles updates for you.
Open custom repositories
In HACS, go to Integrations and open the menu in the top-right corner. Choose Custom repositories.
Add the repository
Enter the repository URL and select Integration as the category, then click Add.
https://github.com/sfox38/ATM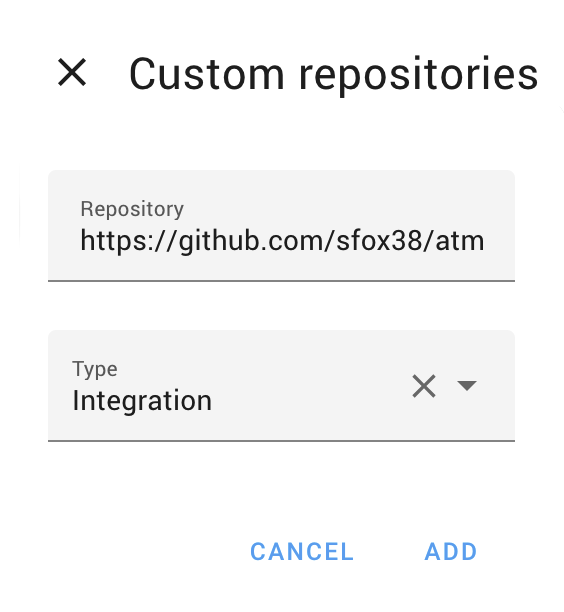
Install and restart
Find ATM in the HACS integration list, install it, then restart Home Assistant.
Install manually
If you prefer not to use HACS, copy the integration into your config directory.
Copy the integration folder
Place the custom_components/atm folder into your Home Assistant config directory.
<config>/custom_components/atm/Restart Home Assistant
Restart so Home Assistant discovers the new integration.
Set up the integration
Add the integration
Go to Settings > Devices & services > Add integration and search for Advanced Token Management.
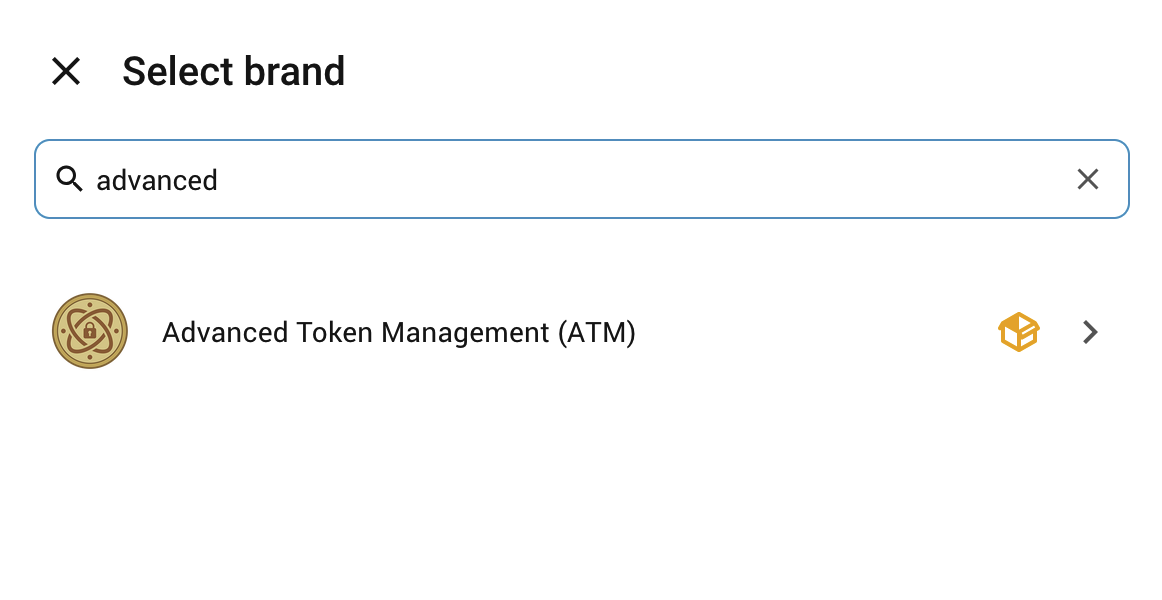
Complete the config flow
Click through the single-step config flow. There is nothing to configure here; all management happens in the panel.
Open the ATM panel
Open the ATM entry in your Home Assistant sidebar. This is where you create tokens, scope permissions, and read the audit log.
Everything lives in the panel
ATM has no YAML configuration and no options flow. Once the integration is added, the sidebar panel is the only place you manage it.
Migrating from the native HA MCP server?
ATM replaces it entirely. Once you have created a token and pointed your AI client at /api/atm/mcp, you can disable or remove the native MCP integration from Settings > Devices & services. The client configuration needs only a URL change; the tool names and parameters are identical.